
Without sounding (too) cheesy- travel is all about the memories and visuals that you create. It’s quite nice not to solely rely on the old memory bank to take you back to places, and instead have photos and videos that instantly get the nostalgia going, while also blowing your friends minds. You know those artsy video pieces where it looks like everything is moving fast- from sunrise to sunset in like 20 seconds, that look so cool? We’ll show you how to do one. It’s so easy…
Ok, First, Grab Your GoPro- Or Bookmark This Page…
We’ve got step by step pictures here, and a few examples, so it’s going to be so much easier if we can just click and tap along together. While we wait, if you don’t have a GoPro, and want to document your travels- it’s something you should definitely look into. The cameras are the easiest (and smallest) to use photo and video devices out there, with top notch quality. I wish we got paid to say that, but it’s still true.

 Power On Your Camera And Click The Button On The Right Side Of The Camera…
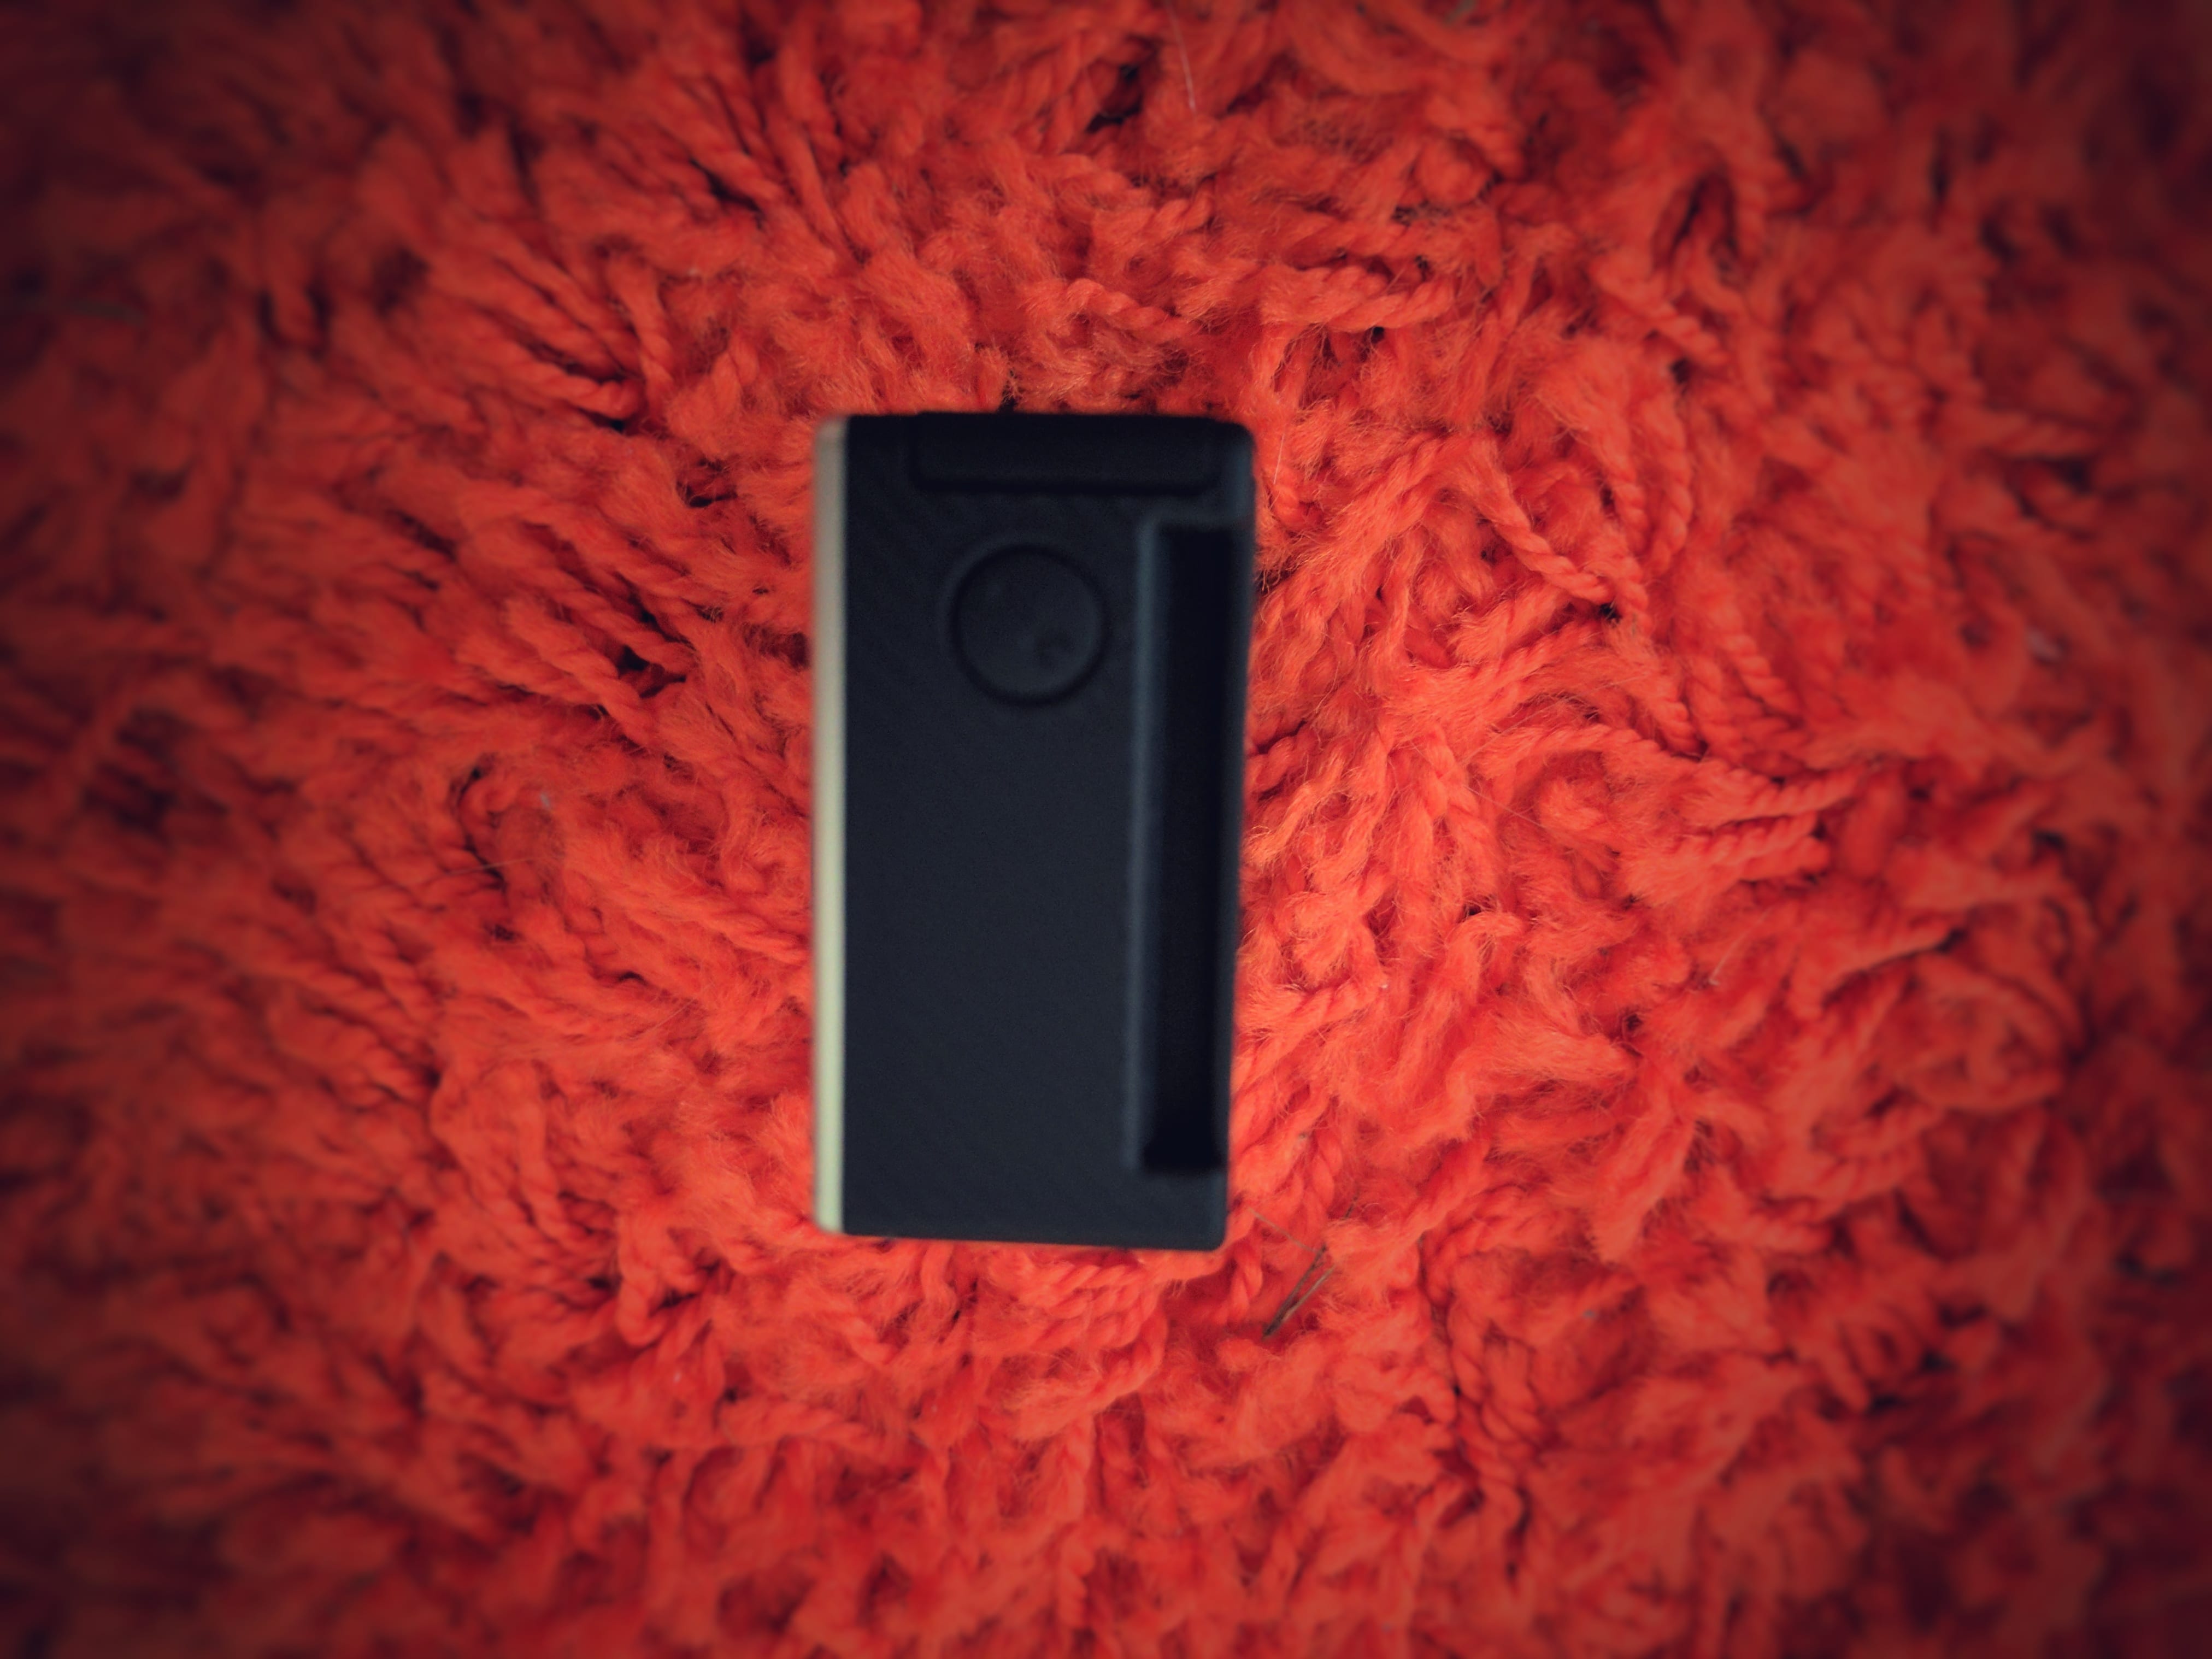
Fortunately, there’s only one button on the side of your camera, so this shouldn’t be too tough. Once you’ve powered the camera on, just click the button on the right side to bring up the camera menu. 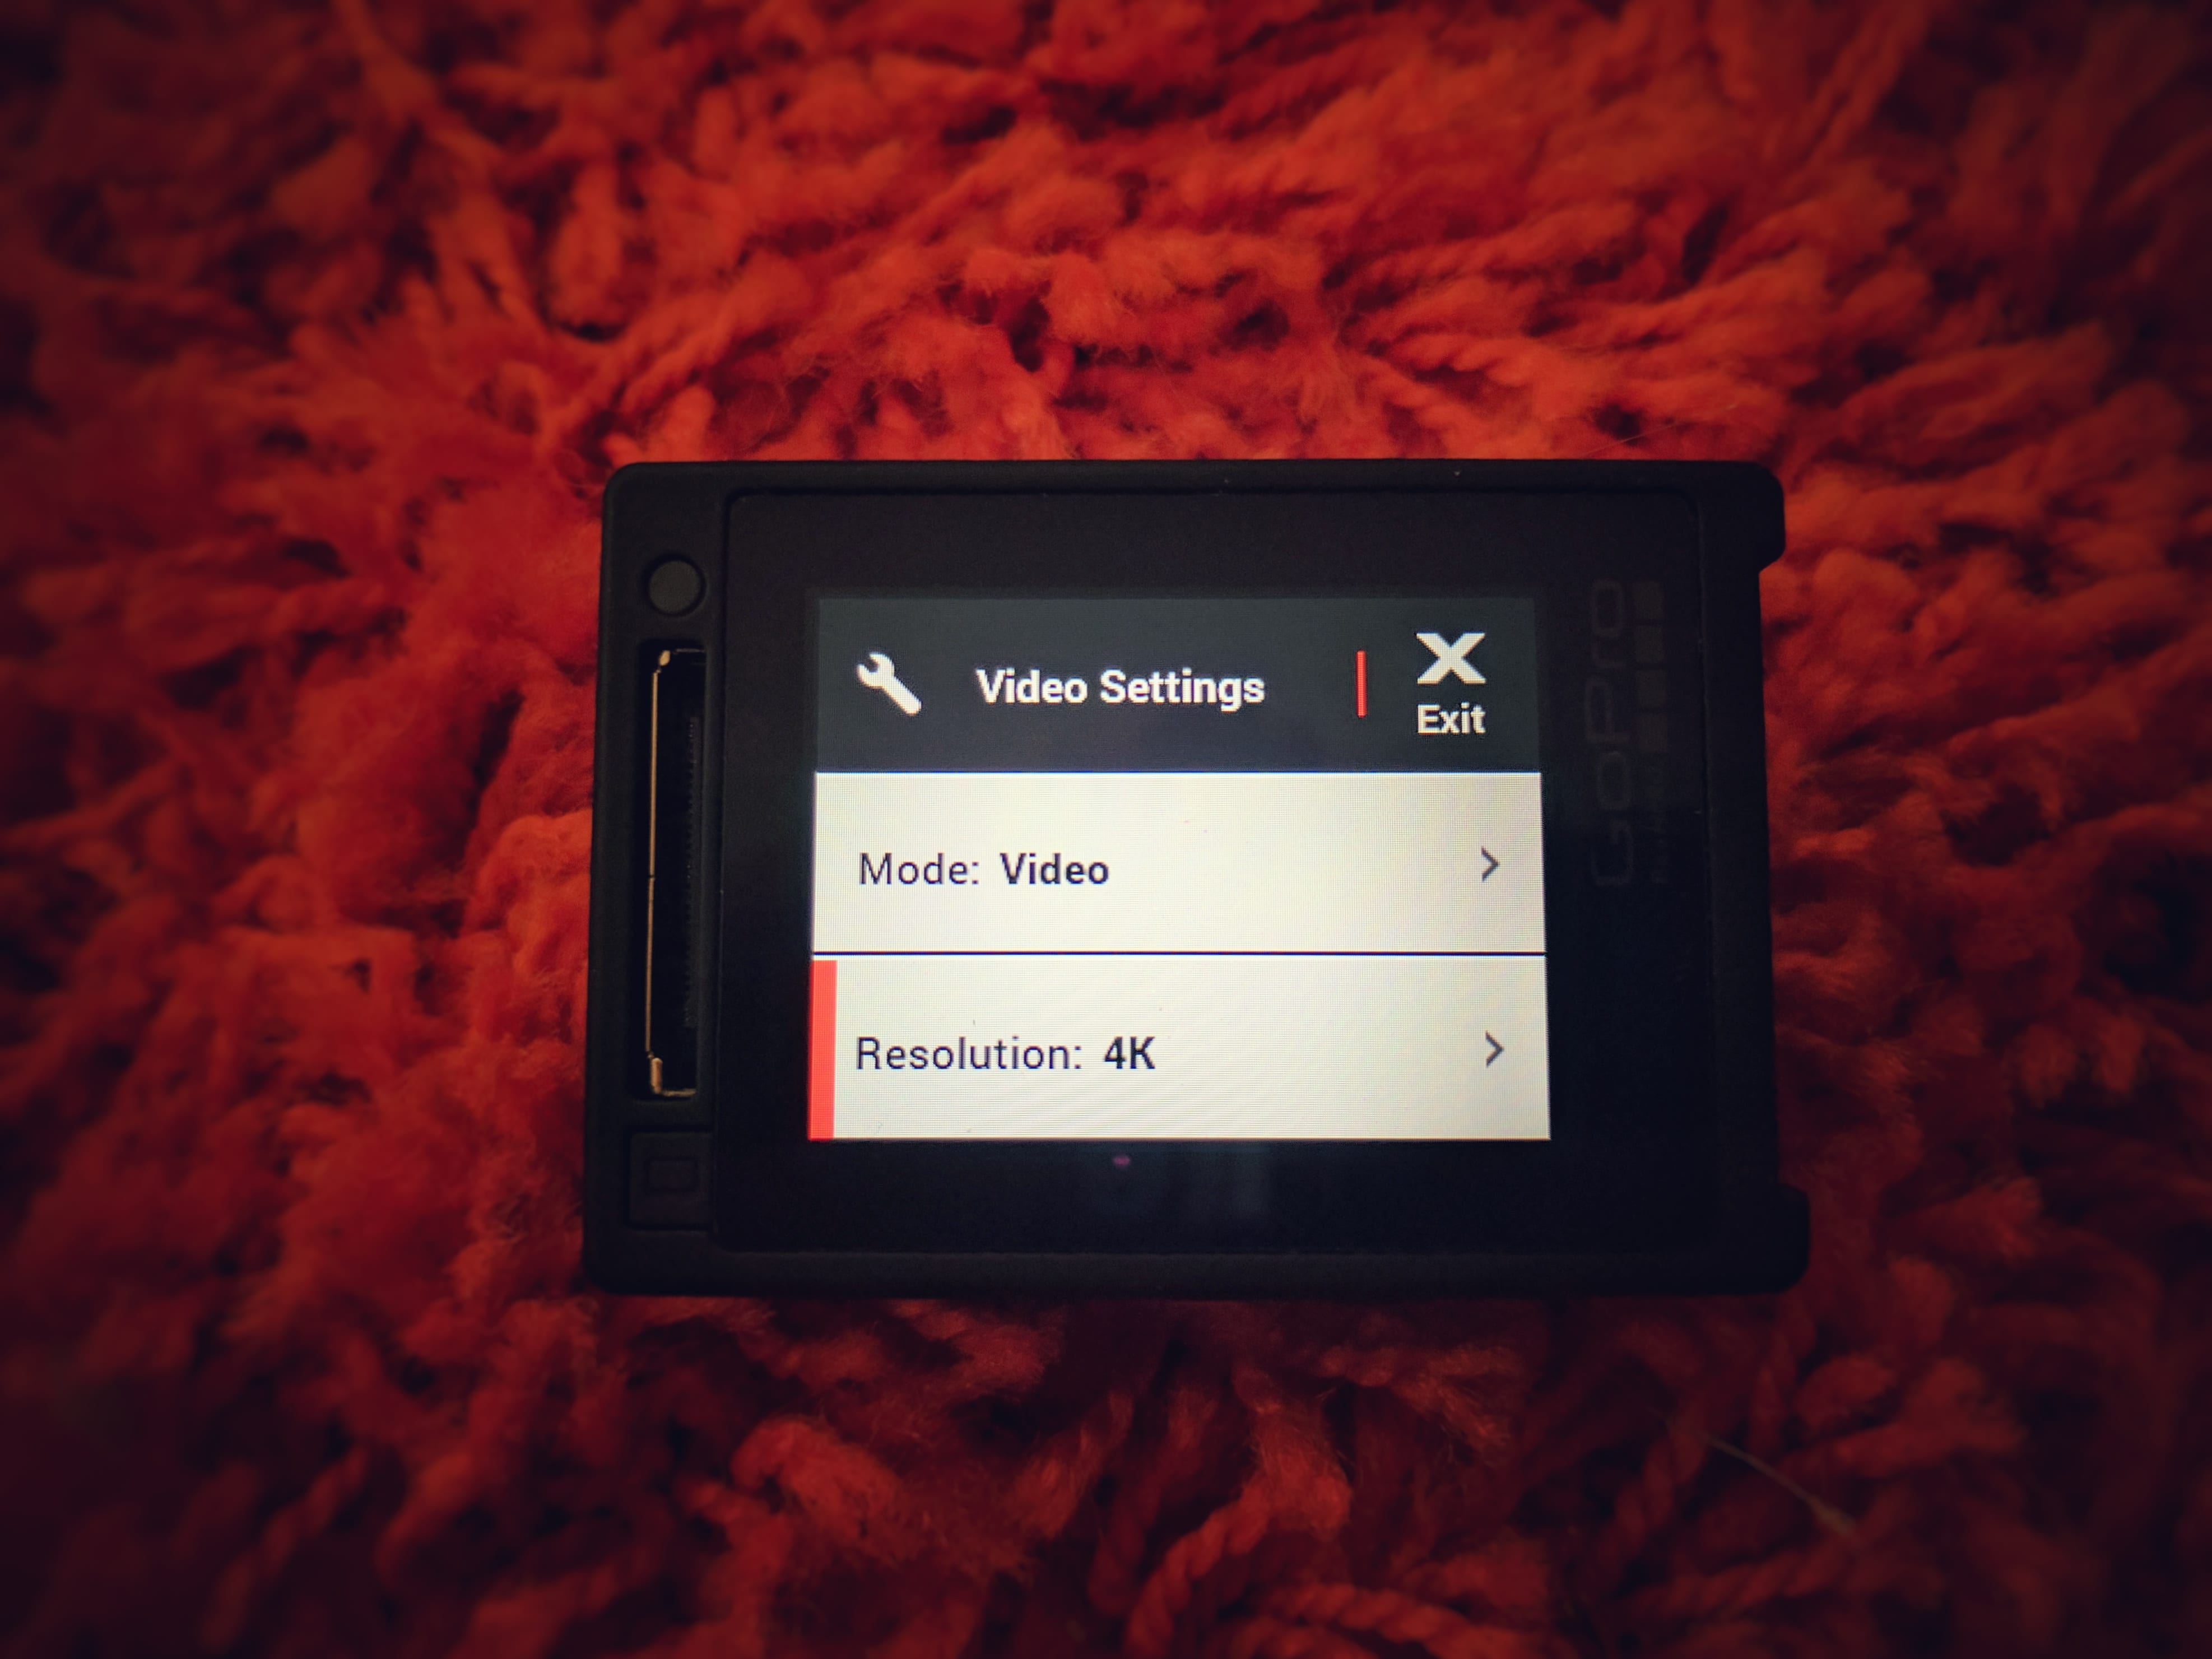
Now Tap Where It Says Video, To Bring Up A New Menu…
GoPro has a very easy to navigate menu, so assuming you were in video mode when you turned the camera on, all you’ll need to do is tap or select where it says “video”. If you weren’t, and were in picture mode or something, just tap along until you get to video and press “video”. 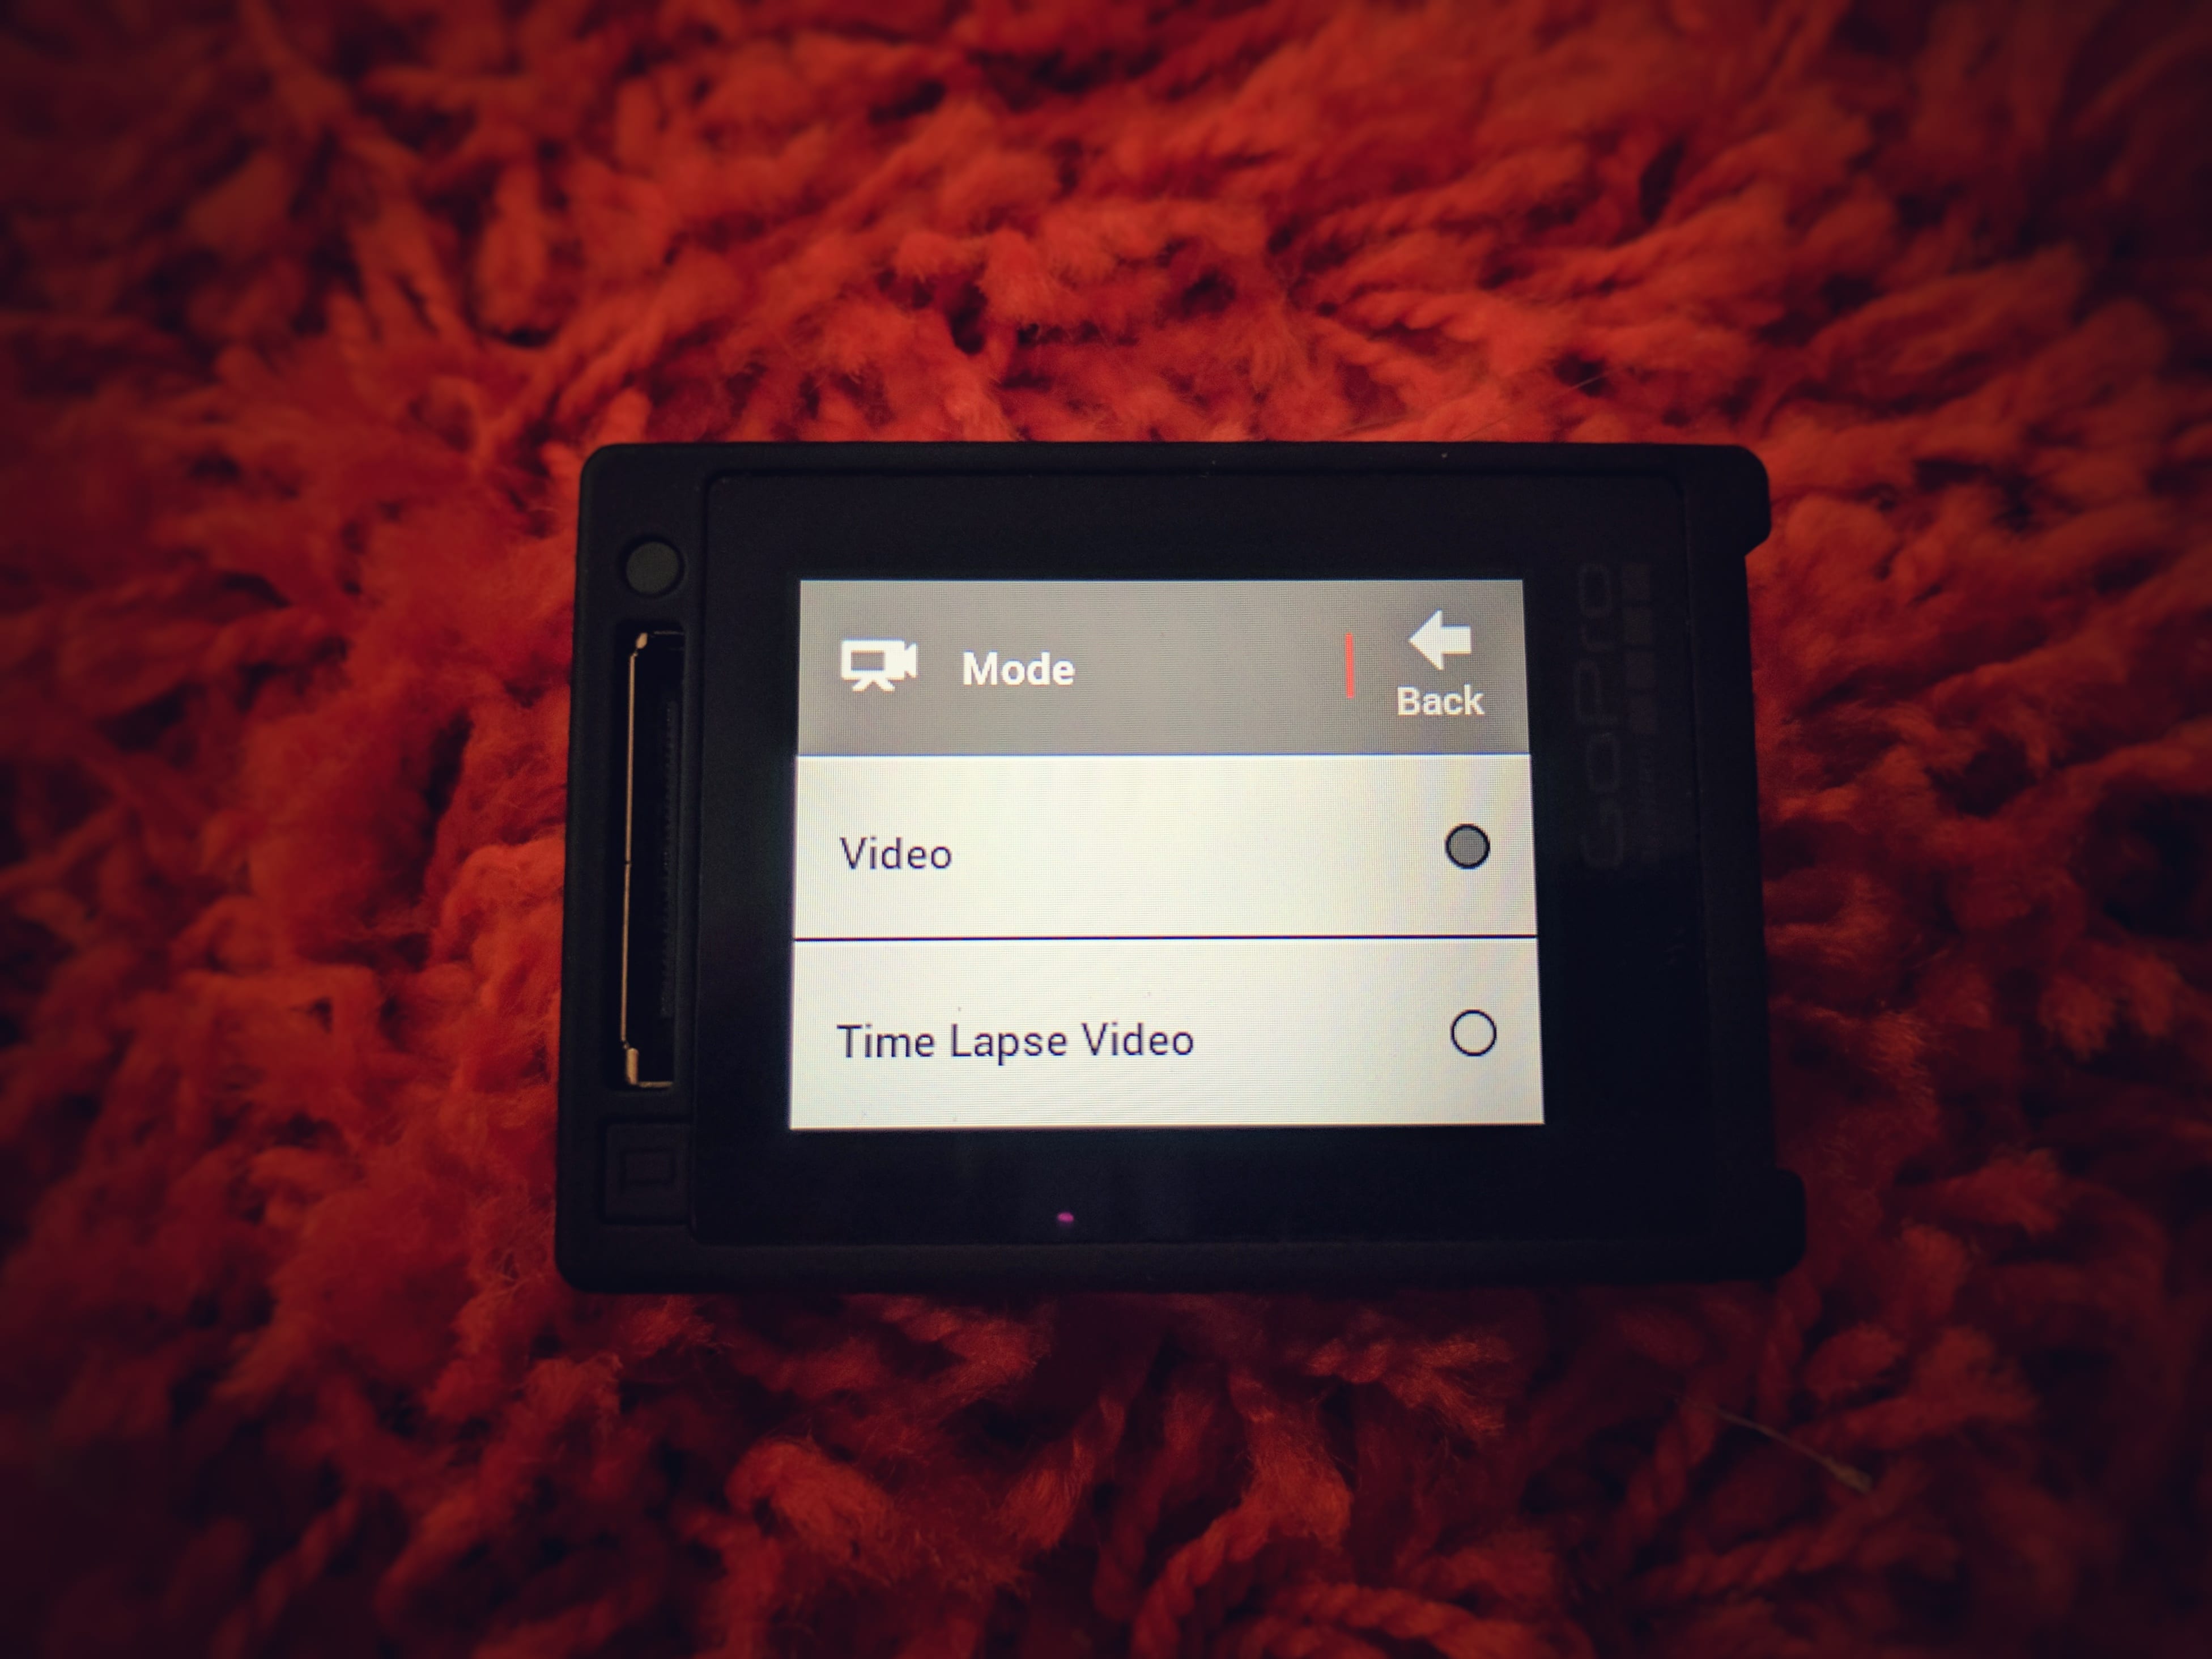
Just A Quick Tap On “Time Lapse Video” And You’re Almost On Your Way…
Obviously leaving, “video” selected is just not going to do much good. Give a tap on time lapse to set things in motion. You’re now on the correct setting, and you’ll just need to calibrate “how” lapsed based on what you’re shooting. 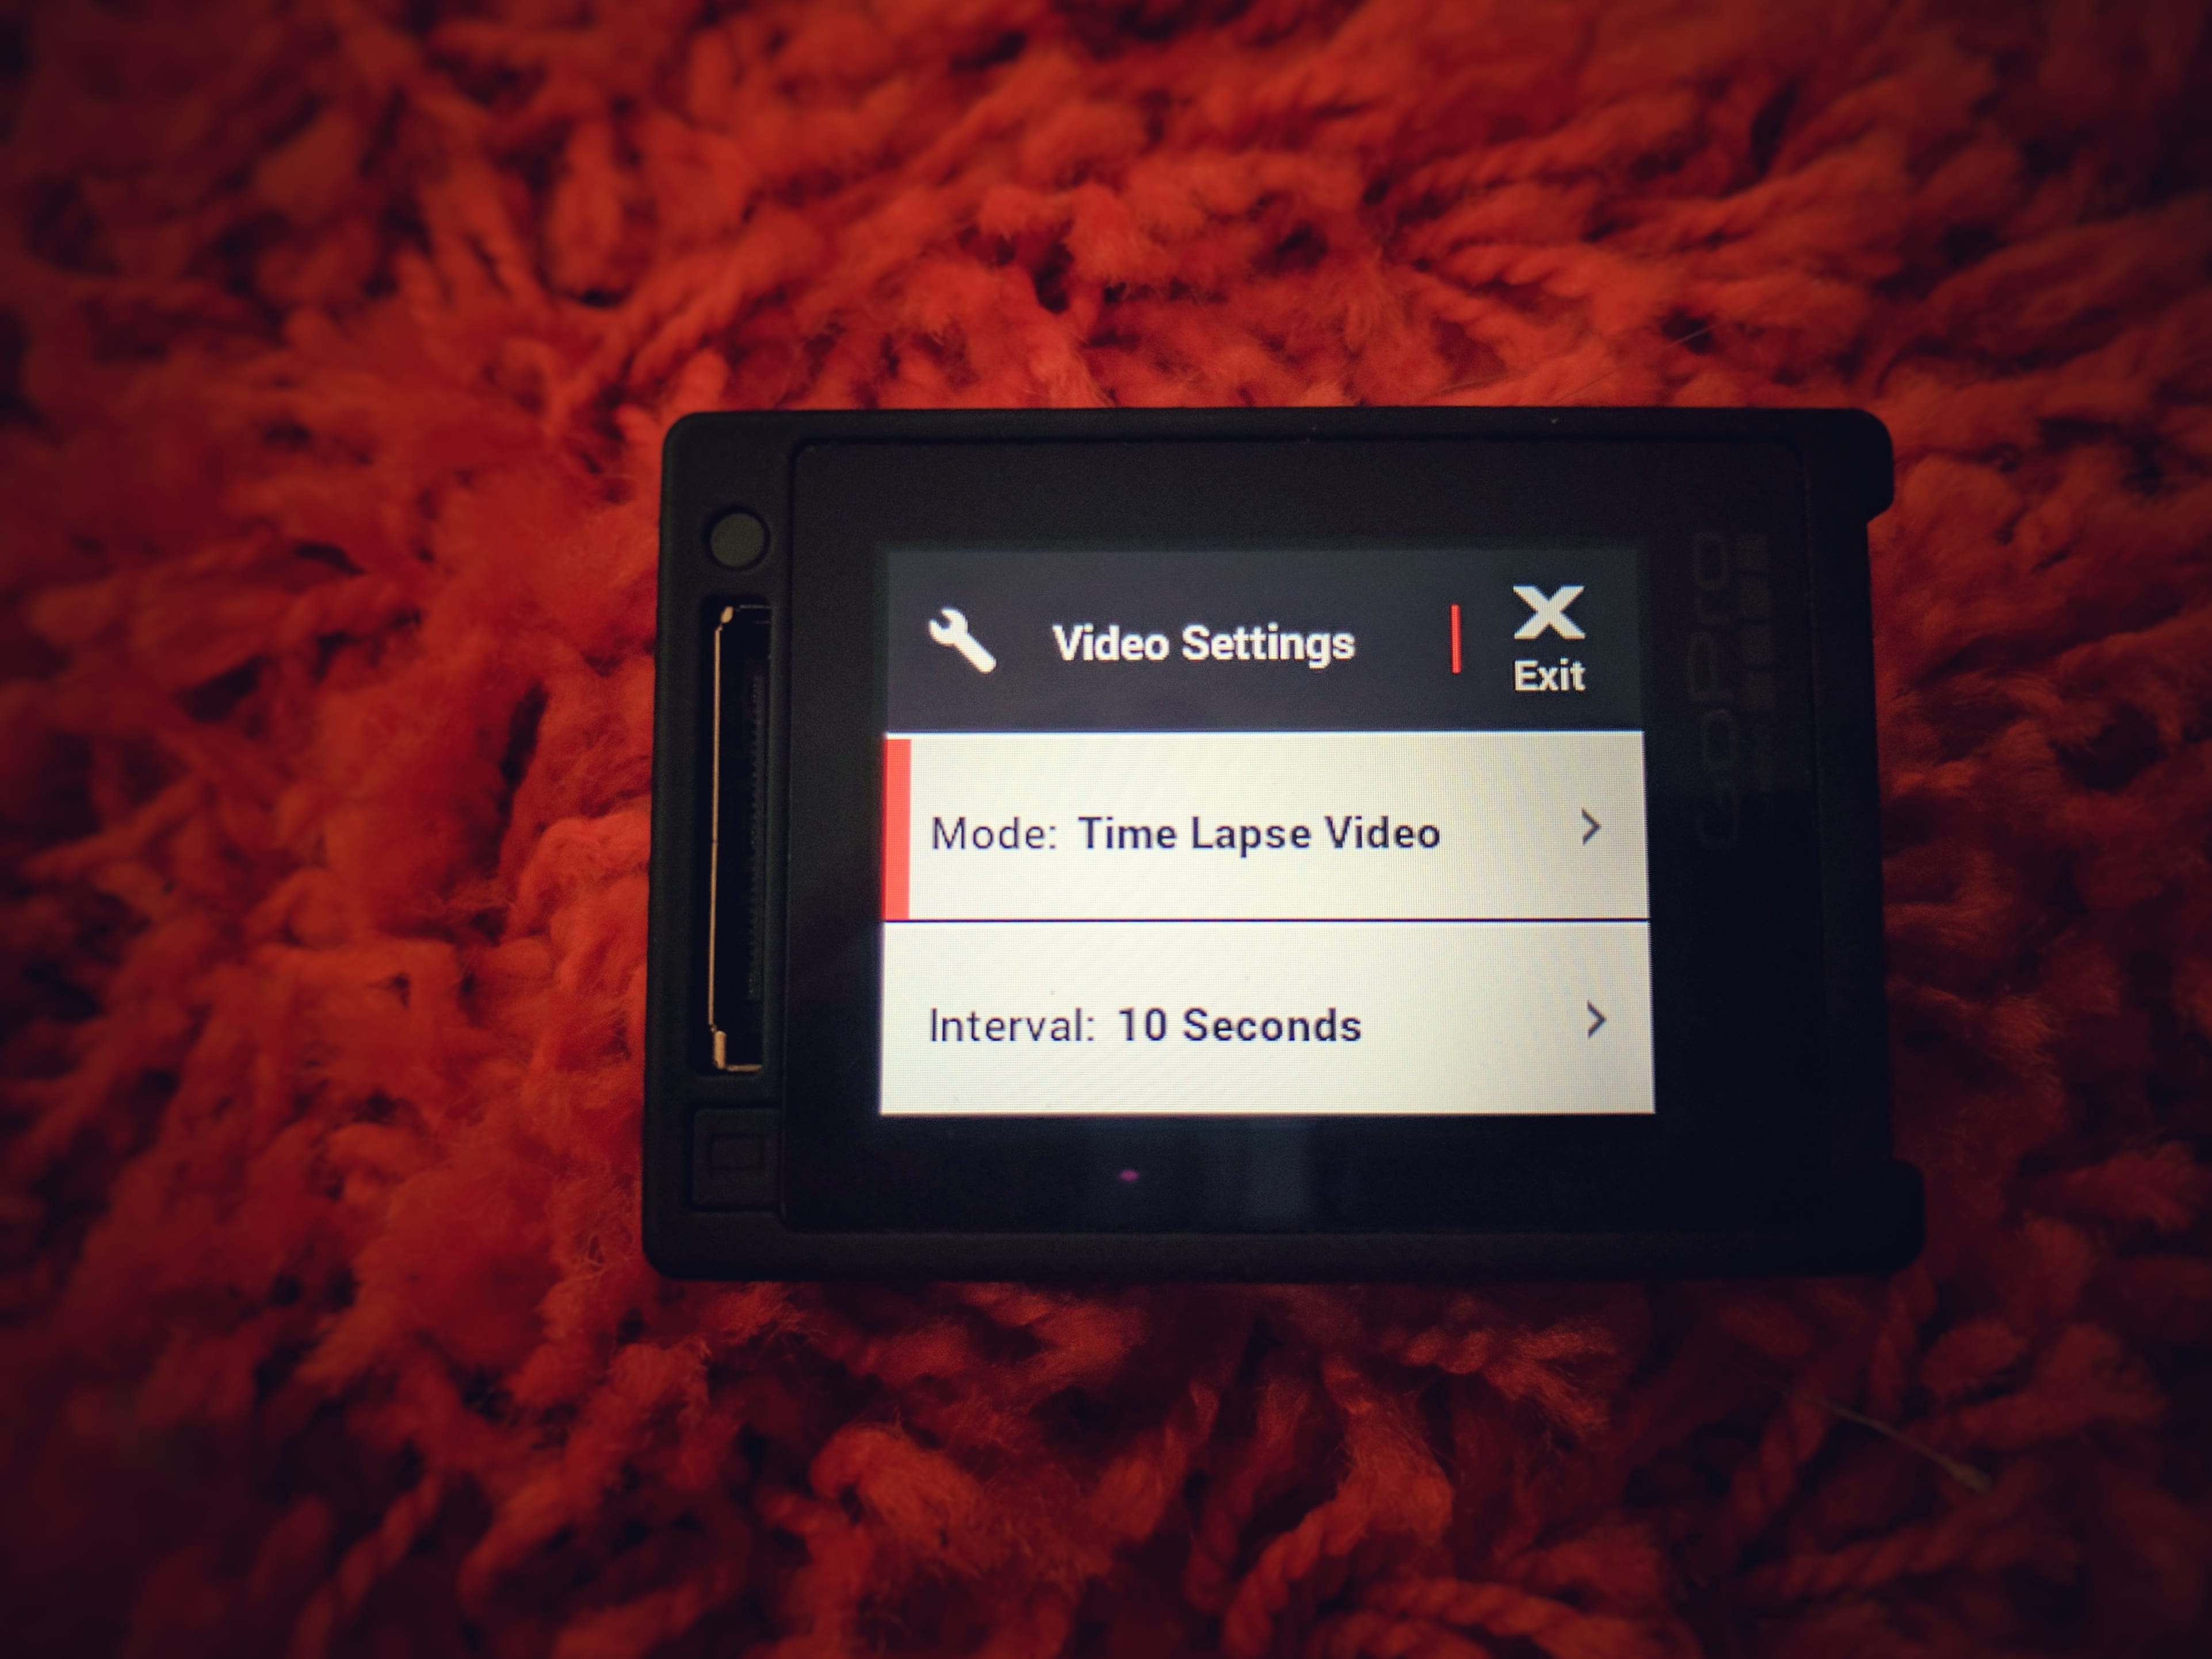
Now We Need To Set The Proper Interval, Based On What You Want To Shoot…
Here’s where the art form comes into play. When you tap on “interval” you’ll be given choices ranging from a half a second to 10 or more seconds. If for example you wanted a time lapse of you having a meal on a plane, and having a sip of wine takes a mere second, a 10 second time lapse will miss almost every thing. The more action you want to capture, the lower the interval. If you’re shooting overnight, catching a sunrise, 10 seconds may be perfect. 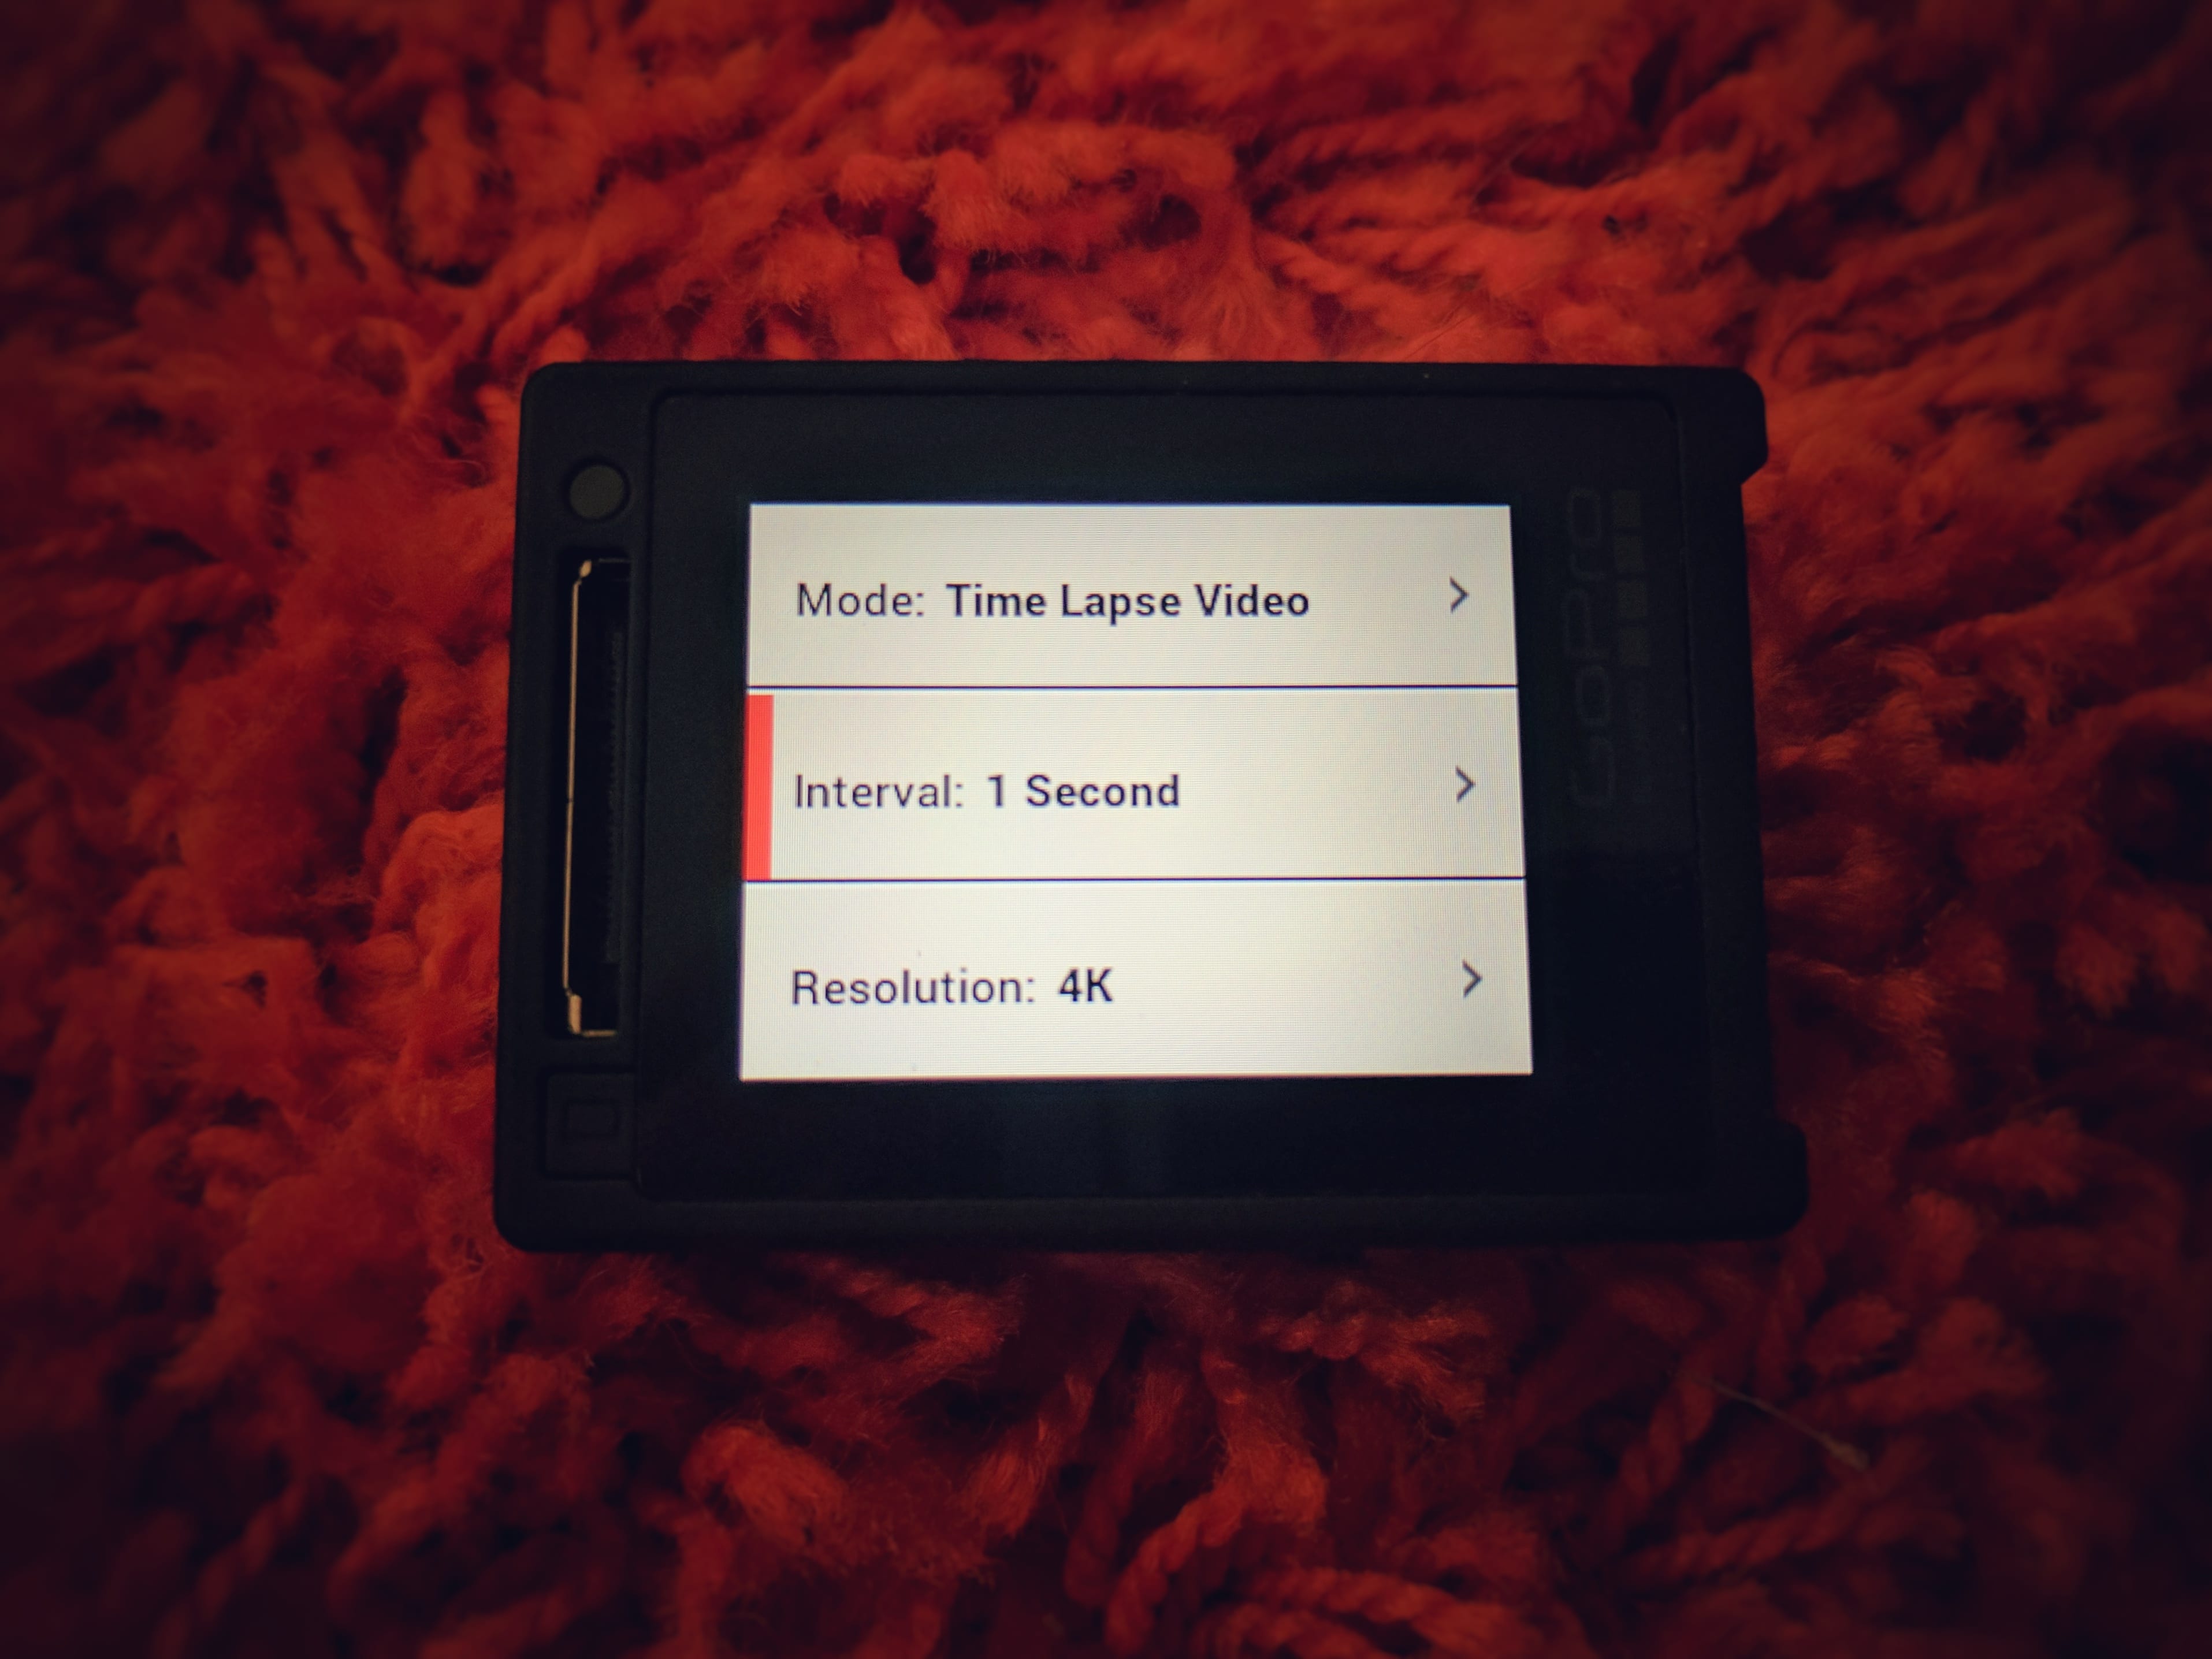
Now That You’re All Set: Practical Tips…
4K is always a great, high quality resolution to have your video set in. Only practice will make perfect, but really try to digest the info above about which interval will work for the time lapse you want. If you’re trying to capture a hummingbird landing on a flower, 10 seconds will get you nothing. The more action: the shorter the interval. The longer the shoot: the longer the interval. A sunrise can look awesome in 10 second bursts. I personally love shooting time lapses in cities, from the view out my window. To have a successful outing, be sure to draw the blinds, otherwise light from the room will ruin the shot. For other locations, be sure to leave the camera in the exact same place, and try to find a spot where there will be minimal distractions (people stepping in front of it), unless you want that kinda thing…
How do you ensure the battery lasts longer than 2-3 hours?